
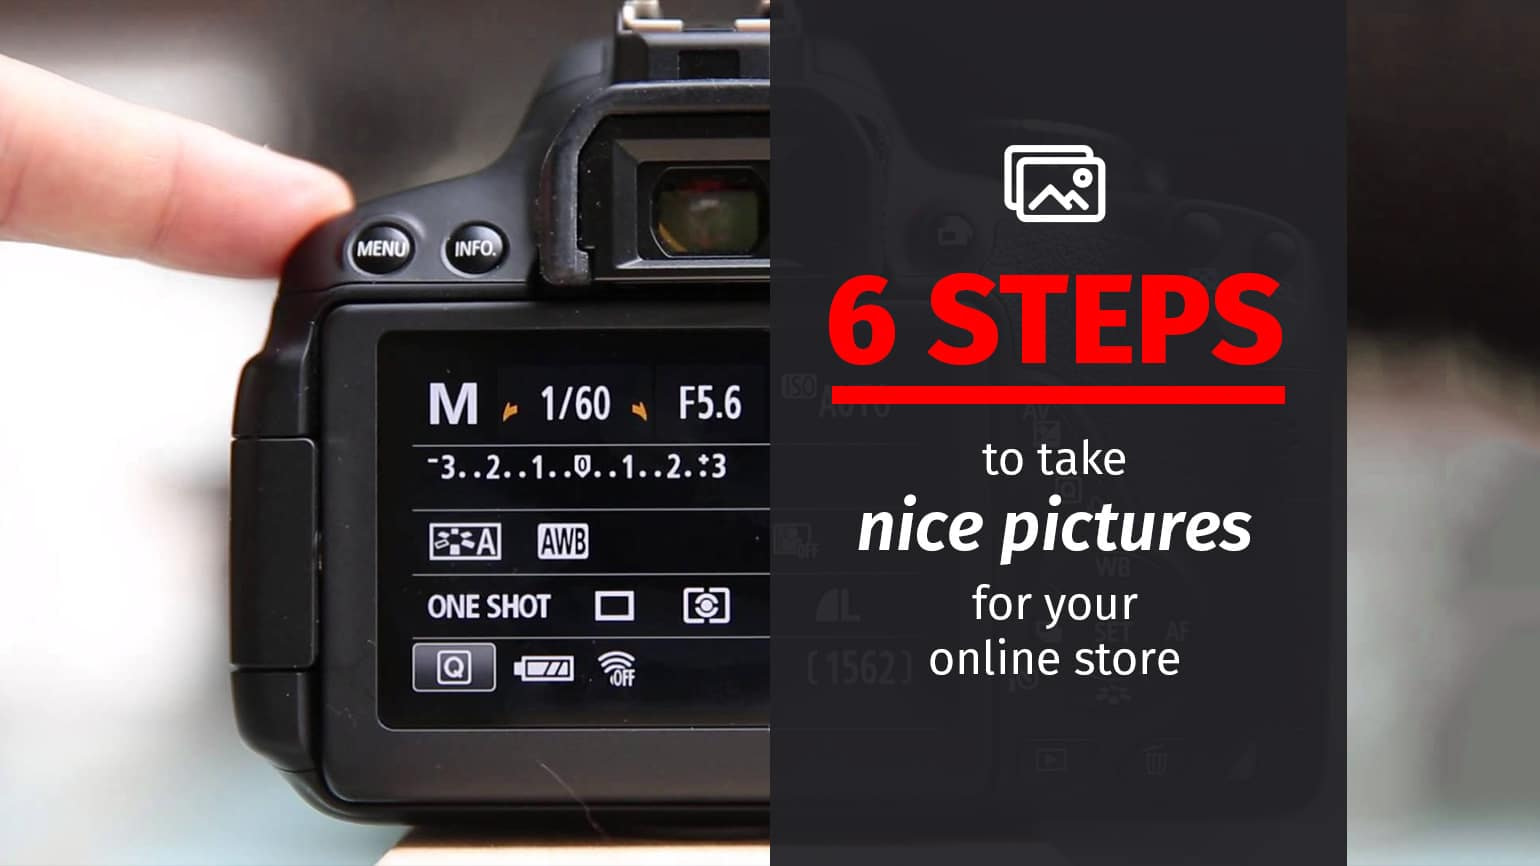
How do you take a picture of an ordinary object so that your customers will want to buy it? The way you present your products in an online store plays a significant role in your business. As you know, “catchy” images are the first thing your customers pay attention to after opening a web page. At this step, you should involve your customers by sparking their interest in what you are selling. Today, we will discuss the necessary points on taking photos for an online store. We will not consider hiring a professional photographer or using special and expensive equipment, but we will show you how to produce a nice picture of an object without any background knowledge of object photography.
1. Take the camera
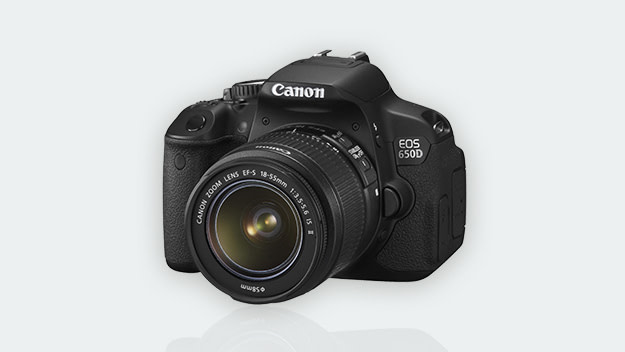
Any digital SLR cameraissuitable for shooting a subject. Using compact cameras is admissible, but it is not desirable. The image quality of such cameras is poor, and it makes working in the studio almost impossible due to the lackof manual exposure settings. It is better to have a lens with a fairly long focal length to minimize perspective distortion. The best solution is a specialized lens for macro photography with a focal length of at least 85 mm. Don’t worry if you do not have a macro lens. Any standard zoom lens, including the one that is sold with the camera, should be suitable to shoot the subject. For our guide, we used our office camera, a Canon 650d, which is a camera for beginners featuring a 17-55 mm lens.
2. Prepare the product
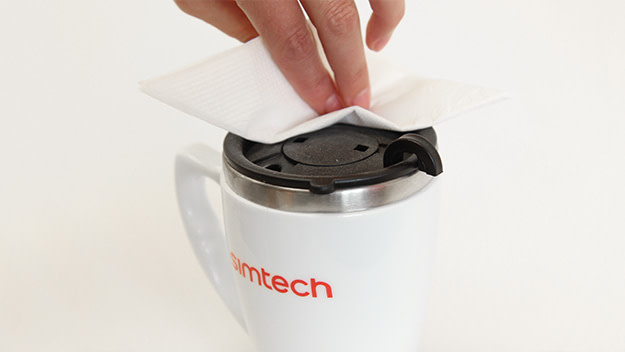
For our object, we photographed a Simtech cup, but it wasn’t clear enough. Dust, invisible at first glance, can be perfectly visible on closely viewed images on a computer monitor; of course, dust, dirt, and small patches of fingerprints can be removed in Photoshop. Another question is how long will it take you? It is easier and faster to properly take care of cleanliness in the beginning than it is to remove the same speck of dust on hundreds of images.
3. Choose the equipment
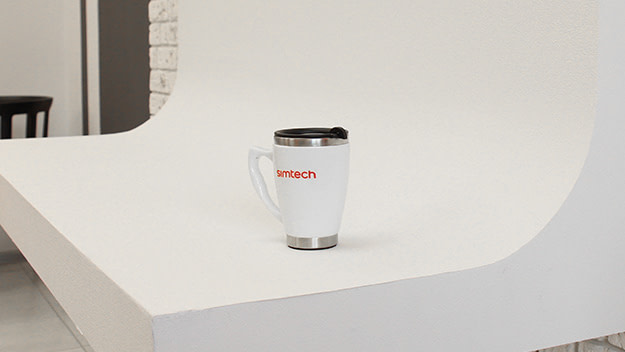
For small things, it is better to use a light box (a device for providing a strong uniform light on a surface), but you can also use materials on hand (view how to create one at the following link: How to make a light box ). For the surface, you can simply use a smooth white paper sheet to get a nice background. In our office, we have a smoothly curved white wall suitable for this task, and that is where we photographed the cup. Or you could instead use an AI background changer to replace or enhance the backdrop digitally, which saves time if you don’t have the perfect physical setup. If you want natural light, place your product near a big sunny window (or in a dark room if you want to use your photo lights).
4. Take pictures and have fun

Now, it is time to start taking desirable pictures! Take plenty of photos so you have a lot of choices. Flip, twist, and experiment. Do not forget that your aim is to present your product in the best possible way. If your object is clothes, for example, it is better to use a model (ask your relatives or friends to help) because customers prefer photos with people in them in order to have a clearer image of the goods. In our case, we chose one photo of a girl with a nice red manicure holding the mug in her hands.
5. Edit your photos to make them perfect
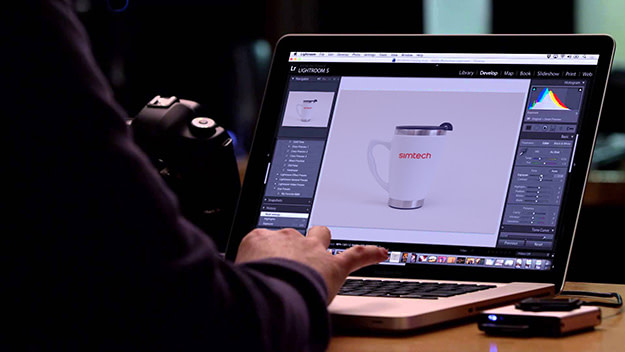
Upload your images onto your computer, or if you’ve already uploaded them then access your photos on iCloud, to get a better idea of how they look. Without any professional skills, it is complicated to make perfect images the first time. You will need to download a program to edit your photos. I suggest using Adobe Lightroom because its interface is rather user friendly, and you will be able to retouch faces and correct the light in just a few minutes. Your customers will prefer light and bright pictures of products. Do not distort colors, for example, making your customers think they will get a light green shirt and not a dark green or even emerald shirt.
6. Upload the pictures
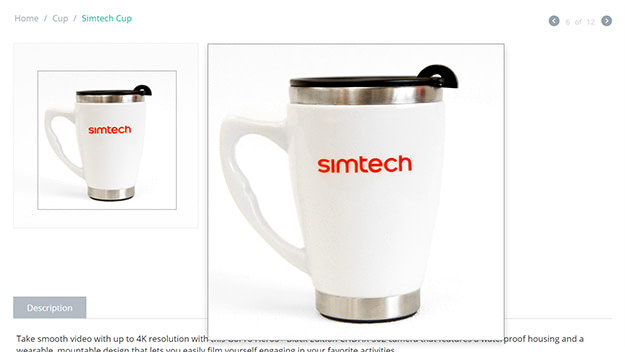
You have reached the final step. We believe you are satisfied with the result, and now it is time to show it to your customers. With CS-Cart, you will not have any problems while uploading images in the gallery. You can also integrate one of the useful add-ons to improve your gallery or present a product in different angles (using zoom and other features). Look what a simple but nice mug we have in the end. You’d like to buy it right now, wouldn’t you? 🙂