

In this article, we will consider the CS-Cart default functionality to import images. We’ll share the methods of loading and specifying the path to images. You will get to know about features to pay attention to for the correct import of images. Let’s start with the import methods.
Import methods
There are three ways to import products with images into CS-Cart:
- Administration – Data import – Products. When importing products, images for them are also loaded.
- Administration – Data import – Products – Images. Thus, the main and additional images are pulled up to the already existing products.
- Administration – Products – Products. You can add an image on the product page itself. This method is convenient only for a single download. For bulk import, it is better to use the first two methods.
Regardless of which method you choose, a well-formed CSV file is a prerequisite for importing. Before its creation, it is necessary to upload the images either to the server or to the computer. Let’s take a closer look.
How to import products
There are two options for uploading products with images:
- Through an FTP client;
- Through the File Editor.
Uploading files through the file editor
Let’s say we upload images for products. Since the images will be required for import, they should be located in the “Private Files” section, in the “images” folder. So, to import through the editor, you need:
- Create archive images.zip.
- Go to Administration – Files – Private Files.
- Move archive to file area.
- Unpack the archive by right-clicking on the archive.
So now the images folder has been created on the server. The link to this folder must be used when importing the CSV file.
Importing files via FTP client
To import files via an FTP client, you need to upload images to the var / files / [number] folder, where the number will indicate the showcase number. If there is only one storefront, then the path will look like var / files / 1.
How to specify the path to the imported images in a CSV file in CS-Cart
You will need to specify the path to the images so that CS-Cart could pull it up and attach it to the relevant products during import. This can be done in several ways:
- Method 1 – Link to an image. Provide a direct link to the image if the image is uploaded to a sharing service. Example: http://www.example.com/test_image.jpg.
The link should lead either to your store or to a file storage service. The images will be imported to the server.
- Method 2 – Absolute path from the server root directory to the image. Example: /path/to/cs-cart/var/files/1/test_image.jpg.
- Method 3 – Relative path to the file with the image from the “Private Files” section. Example: images / test_image.jpg.
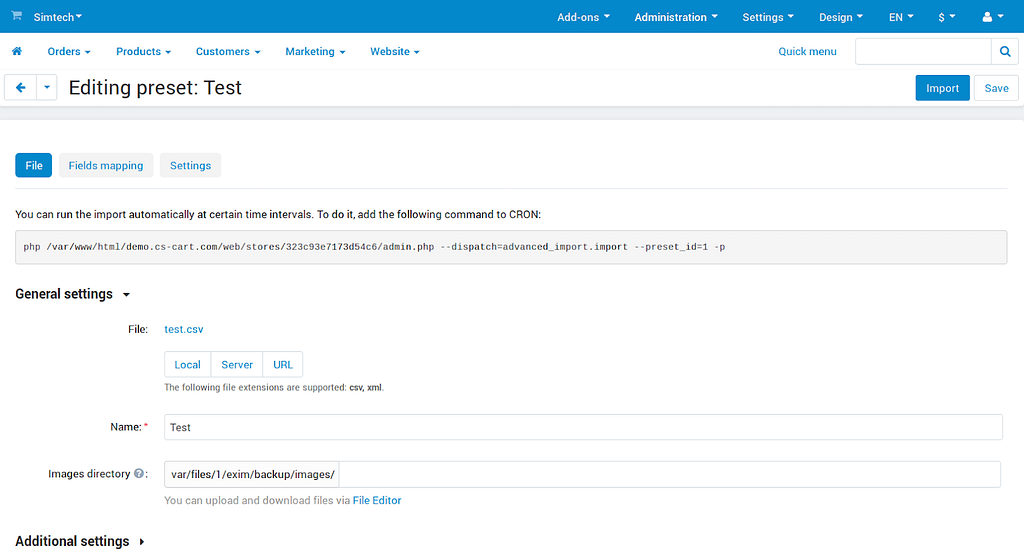
- Method 4. File name on the product page. The easiest way is to just specify the image name. Example: test_image.jpg. Here you will also need to specify the relative path to the pictures from the “Private Files” section. However, you need to do it in the CS-Cart admin panel – the “Images Directory” field.
If you upload in ways 1 – 3, leave the content of the Images Directory field as it is.
Import allows you to define alternative text. To do this, add text after the file name. Example: test_image.jpg # {[de]: ALT TEXT; [en]: ALT TEXT;}.
What to look for when importing
Draw your attention to the differences in the import of the main and additional images, the format of the CSV file, and the path to the files. Let’s dwell on each point in more detail.
When importing products with main images
Please note that additional images are imported separately. Follow the Import workflow for main images:
- Import files into the “images” folder, section “Private Files”.
- Proceed to Administration – Data import – Products.
- Click Upload (CSV file from computer).
- Click Server (select a file on the server where your CS-Cart store is located)
- Specify URL (enter a link to the file).
- Import. Product files with existing codes will be updated. If there is no code, a new product will be created.
The CSV file format should look like this: Product code; Language; Product name; Detailed image. For example, “D00014MK1P”; “ru”; “My new product”; “images / test_image.jpg”.
In this case, the required fields are:
- Product code (if absent, export the products Administration – Export data – Products and copy the received codes).
- Language (consists of two letters, for example, ru)
- Detailed image (file name).
Mandatory import parameters must be filled in:
- Images Directory (ignored if the path to the file is specified).
- CSV delimiter (for example, “;”).
When uploading main and additional images for existing products
The import workflow is almost the same:
- Import files into the ‘images’ folder, section Private Files.
- Proceed to Administration – Data import – Products – Images.
- Upload (CSV file from computer).
- Click Server (select a file on the server where your CS-Cart store is located)
- Specify URL (enter a direct link to the file).
- Import. Product files with existing codes will be updated. If there is no code, a new product will be created.
Here the mandatory fields will be:
- Pair type:
- M (main image);
- A (additional image).
- Thumbnail (product icon).
Mandatory import parameters are:
- Images directory, for example: images /.
- Delete existing additional images. Select this option to remove existing files.
- CSV separator.
Image import errors
The error occurs when the file-access URL is not enabled in the server settings. In this case, you need to contact your hosting provider and ask to enable the setting.
Conclusion
Importing images is not difficult if you follow the instructions provided. The CS-Cart platform is designed to make the default features intuitive for business people without coding skills. However, if standard functionality is lacking, it is best to contact an experienced developer. Our team has been creating unique solutions for the client’s needs since 2005. You can safely entrust the modification of the standard functionality and even the hosting of the project to our specialists.