Live chat is a great tool that helps you break the ice with your customers. In this post, I am going to tell you how to add Live Chat to your website in 5 minutes. To do so, you will need the Google Tag Manager add-on by Simtech Development and a Zopim live chat script by Zendesk.
Getting the script
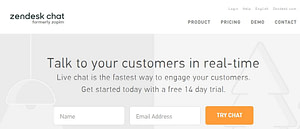
Let’s create an accout at Zopim. Simply enter your name and email address and click Try Chat. There is a 14 day trial period, so don’t worry about paying the fee right away.

Verify the email and register the company.


Fill in your contact details.

Click next and get the code to embed on your website.


This’s it. But please do not close the window. You will need to insert it into your Google Tag Manager account.
Creating a container
Let’s open Google Tag Manager in a new tab. It is available free of charge here. You can sign up for free or sign in with your Google account and click Tag Manager.


After you have logged in or signed up you are suggested to create a container for the script. Please give your container a name, choose Web among the “Where to use” options and click Create.


Google shows some installation guidelines, but there is no need in them if you already have the Google Tag Manager add-on by Simtech Development.


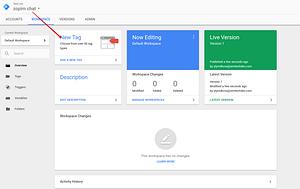
Let’s click OK and open the Workspace where you can create a new tag.


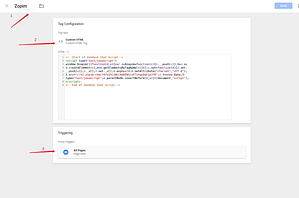
Google will show you Tag information fields. Let’s give a name to the tag and choose Custom HTML.


Now it’s time to get back to the zopim.com window and copy the script from there.


Return to the window with the GTM container and insert the script into the Tag configuration tab.
You will also see the Triggering field just below the Tag Configuration. Triggering allows choosing on which pages the script will be placed. In our case, where the live chat will be shown. GTM suggests inserting the script on all the pages of your store. You can either agree, or click Custom and configure the pages where the script will be placed. When you finish, click Save.


Now you can see the tag code on the right side.


Let’s add it to your CS-Cart store.
Configuring the add-on
Open the Admin panel of your CS-Cart store, choose Add-ons – Manage add-ons – Simtech Development: Google Tag Manager. Input the Container code. Do not change the name of the Data Layer field. Click Save.


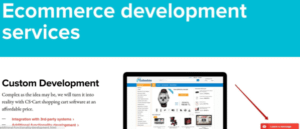
Let’s go to the storefront and see if the Live Chat has appeared.

That’s all! Just a couple of minutes and Zendesk Live Chat is on your website!
We highly appreciate your feedback.


